
On the dark toolbar at the top of your website, hover over New and select Page. If you don’t see the toolbar, you need to login.
The Issue page is just a regular page with title and content. Enter these as appropriate.
Recommended: use the Image block to add one or more images.
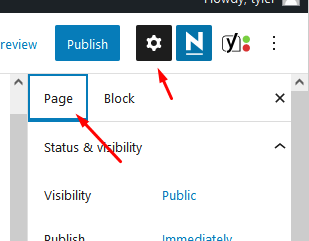
On the right, there should be a tabbed sidebar with a Page tab. If you don’t see it, click the “gear” icon at the top right to make it display.
On this Page tab:
- Expand Page Attributes. In the Parent Page field, select page, “Issues”. That makes the new page automatically appear in the grid of issues on the Issues page.
- Recommended: select one image to be the featured image of the page. On the right, Page tab, Featured Image. This image will show up in the grid below, and in web searches.
- Recommended: Use the Excerpt field (on the right, Page tab) to specify text to appear in the grid below. If you don’t, WordPress will just take some words from the beginning of the page content.
Done with Page settings. Now scroll down to Yoast SEO section on the left. Fill in fields as you would like. The Meta description should probably contain the same text you entered in Excerpt.
Click the Social tab of Yoast SEO and specify how you want your page to look when shared on Facebook and Twitter.
Click the blue Publish button at the top right. Confirm you want to publish the new issue page.
Refresh the Issues page to make sure the issue is shown the way you want.
When done entering Issues, go to the Pages screen of your dashboard. You can drag the Issues pages into the order you would like them to appear in your grid. Make sure no Issues pages are being edited while you do this.